How to grow Proteas

Growing Proteas

Bold, indigenous beauty with low-water appeal

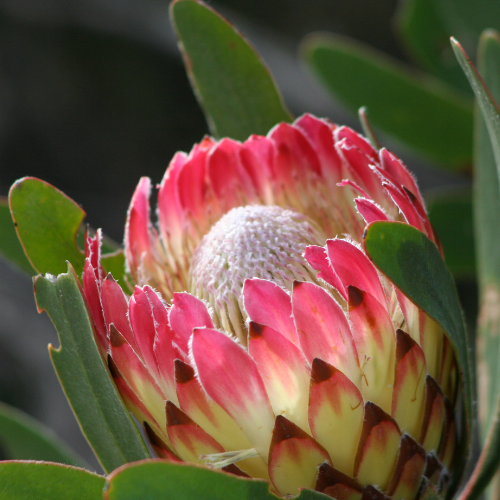
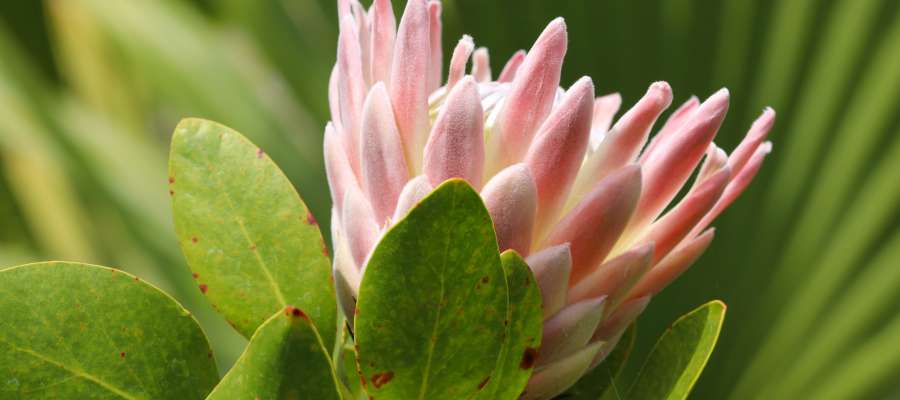
Proteas are iconic South African plants, prized for their dramatic flowers, sculptural foliage and toughness once established. They bring strong structure and year-round interest to the garden, and many varieties produce long-lasting blooms that are perfect for cutting.

While proteas are not high-maintenance, they do require the right conditions from the start. Get the soil and drainage right and they’ll reward you with years of striking, reliable performance.
Get the 'Grow How'

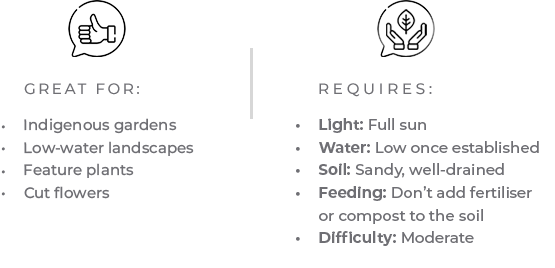
Proteas thrive in sunny positions with excellent drainage and minimal interference. They dislike heavy feeding and wet soil and do best when allowed to grow naturally.
Planting Procedure
Fertilising and Care
Pests and Diseases
Garden Uses

THE BASICS:

Drainage is everything when it comes to proteas. Planting correctly from day one is the key to long-term success.

Quick Tips:
  • Plant in full sun with good air circulation
  • Ensure soil is free-draining.  Sandy or gravelly soil is ideal
  • Do not add compost or manure to the planting hole

  • Proteas need well drained soil and grow best in an exposed position on sloping ground with free air movement and plenty of sunshine.
  • North or west facing aspects are best in the southern hemisphere.
  • Dig planting holes twice as deep and three times as wide as the pot the plants are growing in.
  • Do not add any fertiliser or compost to the soil.
  • Proteas grow best in phosphate deficient soils.
  • If soil is poorly drained, add acid compost or peat moss at the recommended rate and mix thoroughly with the garden soil.
  • Soak the potted protea plant in a bucket of water for a few minutes, remove and leave until the water has drained.
  • Remove the pot or nursery bag with care so as not to disturb the root ball.
  • Plant the protea into the prepared hole at the same depth as the it was growing in the nursery pot.
  • Fill in around the root ball and firm soil down gently.
  • Form an irrigation basin around the plant to direst water to the root area.
  • Once planting is complete water well to settle the loose soil.
  • Taller plants need to be tied to a stake for support.


KEEP THEM HAPPY:

Less really is more with proteas.  Overfeeding is one of the most common causes of failure.

Quick Tips:
  • Mulch sparingly with coarse, well-drained material
  • Avoid disturbing roots.  Proteas are sensitive to root damage

  • Place a layer of mulch around the protea to keep the roots cool and repel weeds – dry straw or pine needles are good.
  • Water regularly (every day or 2nd day) for the first 3 months after transplanting or until fresh new growth is produced.
  • Check regularly for symptoms of pests and diseases.
  • Water during dry weather.
  • Do not fertilise as a general rule.
  • Pick flowers when they are ready.
  • Prune back protea plants after flowering is complete to maintain shape.
  • Some proteas need winter frost protection in colder areas.


GOOD TO KNOW:

Most problems are linked to poor drainage or overwatering. Healthy proteas grown in the right conditions are naturally resilient.

Quick Tips:
  • Avoid overhead watering where possible
  • Strong airflow helps
  • Aphids gather on the soft new growth tips and suck the sap out of the plant – control with a general insecticide or aphicide.
  • Chewing insects damage leaves and flowers – treat with a systemic insecticide.
  • Red spider mites are a problem on some plants in summer – use a suitable miticide.
  • Iron deficiency is identified by yellow leaves on weak growth tips – correct with a drench of iron chelate.
  • Certain proteas and their relatives are prone to a fungal disease that causes black spots on the upper and under surface of the leaves – spray with a copper-based fungicide.
  • In grassland areas beware of rodent damage in winter. Mice eat the bark at the base of the stem effectively ring barking the protea.


GREAT FOR:

Proteas make powerful garden statements. Their bold form and flowers suit both natural and contemporary landscapes.

Quick Tips:
  • Ideal for indigenous and water-wise gardens
  • Use as feature plants or focal points
  • Excellent for coastal and windy sites
  • Pair beautifully with other indigenous plants and grasses

  • Excellent for “fynbos” style indigenous gardens
  • Use in large rock gardens or on sunny well drained banks
  • Good in large pots and containers
  • Some make good screening plants
  • Wonderful long-lasting cut flowers
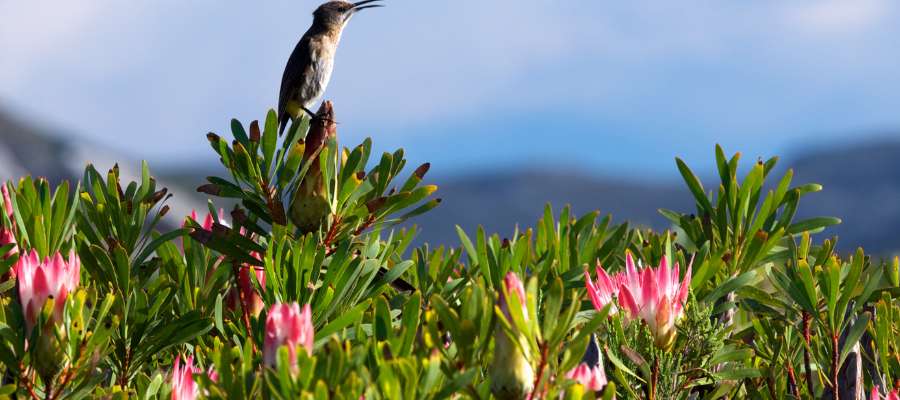
  • Attract birds and insects


Shopping List

  1. Spade and fork for digging planting holes
  2. Acid compost and peat moss for soil enrichment
  3. Watering can or hose pipe
  4. Short stake with suitable ties
  5. Mulch material like dry straw or pine needles

DISCLAIMER: 
 The information presented on this website is intended solely as a general guide. We neither endorse specific plant varieties over others nor claim expertise in stock performance. All information is believed to be accurate, based on private inquiries and experiences, and is provided in good faith. Blackwood’s, including its employees, disclaims any responsibility for harm, loss, cost, or damage arising from the use or reliance upon any information on this website, especially if any part of the information proves to be inaccurate or incomplete. Please note that the displayed photos are not representative of current stock but are used for illustrative purposes only.